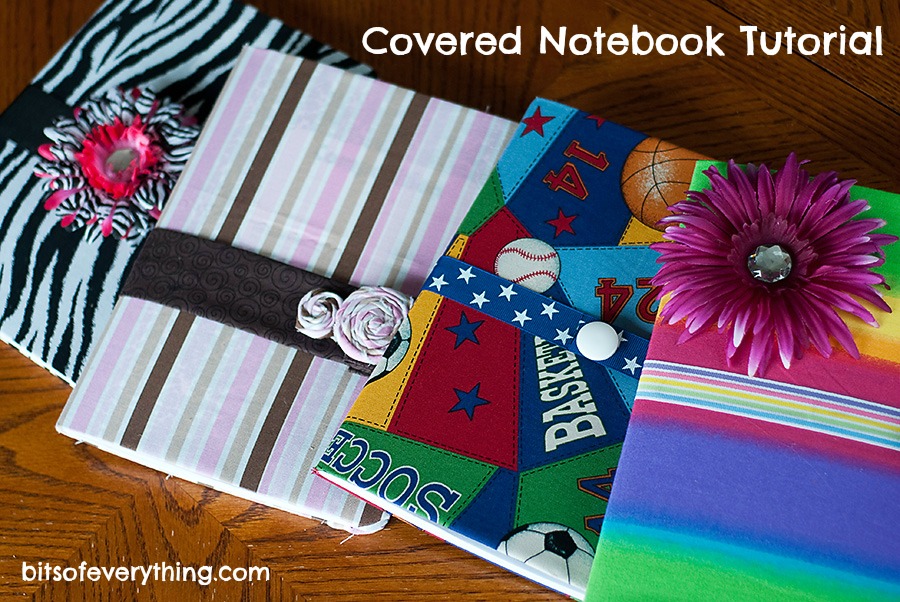
I have LOVED mine and all my kids wanted one too!
They are inexpensive and fun to make, so I came up with a tutorial for you so you could make one too!
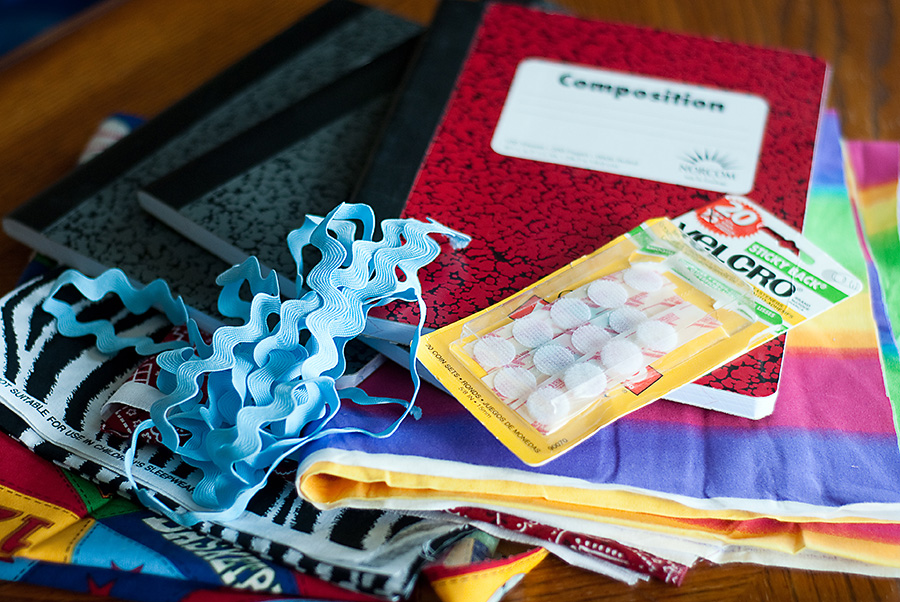
First, you gather the supplies. You will need atleast 1/3 yd of fabric, a composition notebook, velcro, hot glue gun and any embillishments you would like. (ie. buttons, ribbon, flowers, etc.)
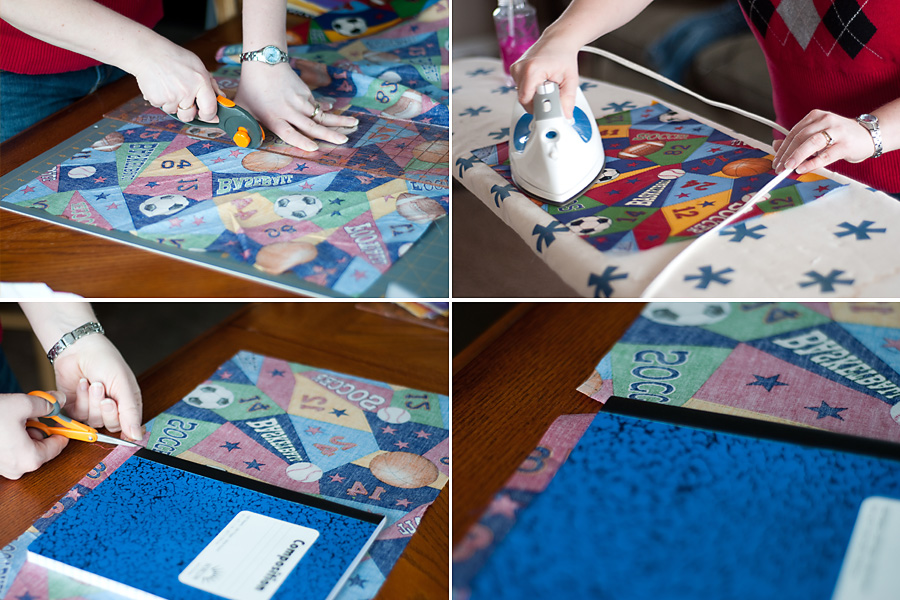
I cut the first piece of fabric 18 inches by 11 1/2 inches. Then I used an iron to get the wrinkles and fold marks out. **Tip: you may also need to pay attention to the pattern of your fabric, if there is a definite up and down! Next I “notched” or cut a V at the corner of the notebook so that it will fold in nicely!

Then I simply started folding the fabric over the notebook and hot gluing it into place! I did one side and then made sure I had it pulled tight on the other side. When you are gluing the short side of the notebook in, I just folded the corners in a little (like wrapping a present). After you glue that all down, I covered the whole inside of the notebook with another piece of the same fabric to make it look nice and neat.
The inside piece should be about 7 inches by 9- 9 1/2 inches.
When you are finished putting it all together, you can embellish with
whatever your little heart desires
(or in my case, whatever you have on hand! 😉
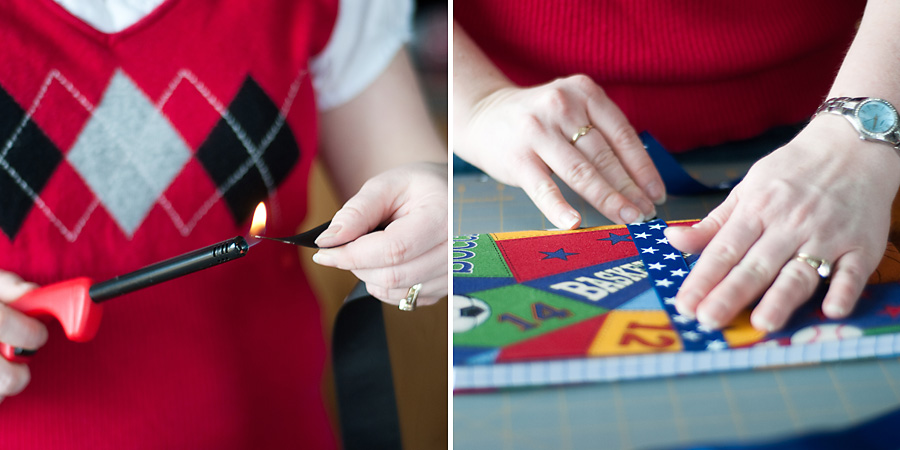
*Tip: Make sure when using ribbon, you burn the edge so that it doesn’t fray! On a few of the notebooks I’ve done, I added a thin ribbon on the inside to use as a bookmark. If you do this, you should add it before you add the smaller piece of fabric to the inside.
To keep it closed, I added a wide ribbon (when gluing it on, be sure to NOT glue the notebook closed!)
and then I hot glued the velcro on it.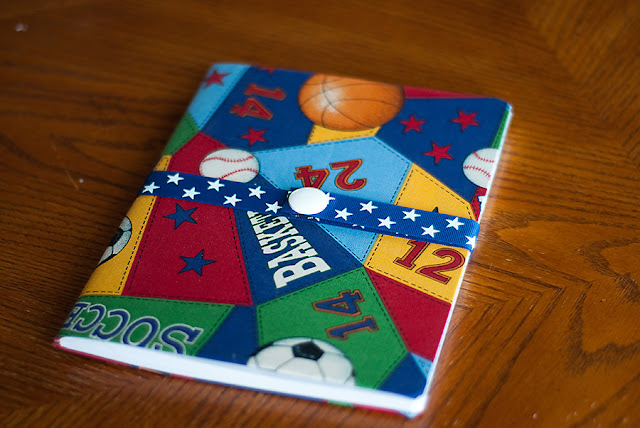

And in then end, you have a very functional gift for someone, a personalized doodling or writing book for the kids, or a place to put all of your grocery and menu lists. Another nice thing about these is that you can make them for girls or boys. Most of the things I make are for girls, so my son was VERY excited! 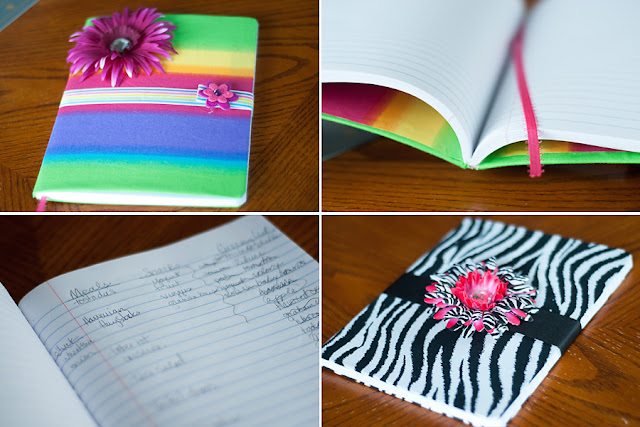

I hope you have as much fun putting these together as I did. The possiblities are almost endless!
I already want to make another one with a ruffle on it and ooohhh….maybe I could use magnets to keep it shut instead of velcro! What else can you come up with?
If you have other ideas or questions about what I’ve done,
just leave me a comment and I’ll get back to you!

Happy Crafting!
(P.S. Thank you to my sister, Cali, for taking and editing all of these pictures for me! 🙂
Linked up with:
These are so cute! I am a list-aholic so I am constantly writing in notebooks! I need one of these now!!
Those are adorable…and I like them better than the sewn ones that you slip the notebooks into. My notebooks always slide out or the fabric bunches in the back while I am writing. I can’t wait to make these with my girls! Thanks for the tutorial.
Yay for Seattle! Since we get three months of glorious summer followed by 9 months of rain, I can comfortably predict that 1) it will not be snowing during your visit, and 2) my apologies to the bride, but it will almost certainly rain the entire time you are here. Also, if you need restaurant recommendations, Toulouse Petit and Crow are amazing. Welcome to Seattle. 😉
What a pretty color combination! I love those coasters. I saw them at the Dollar Tree and I wish I would have bought them!Thank you so much for inspiring me today!blessings,karianne
I just made mine…LOVE IT~
these all turned out way cute
http://jaysonandashley.blogspot.com/