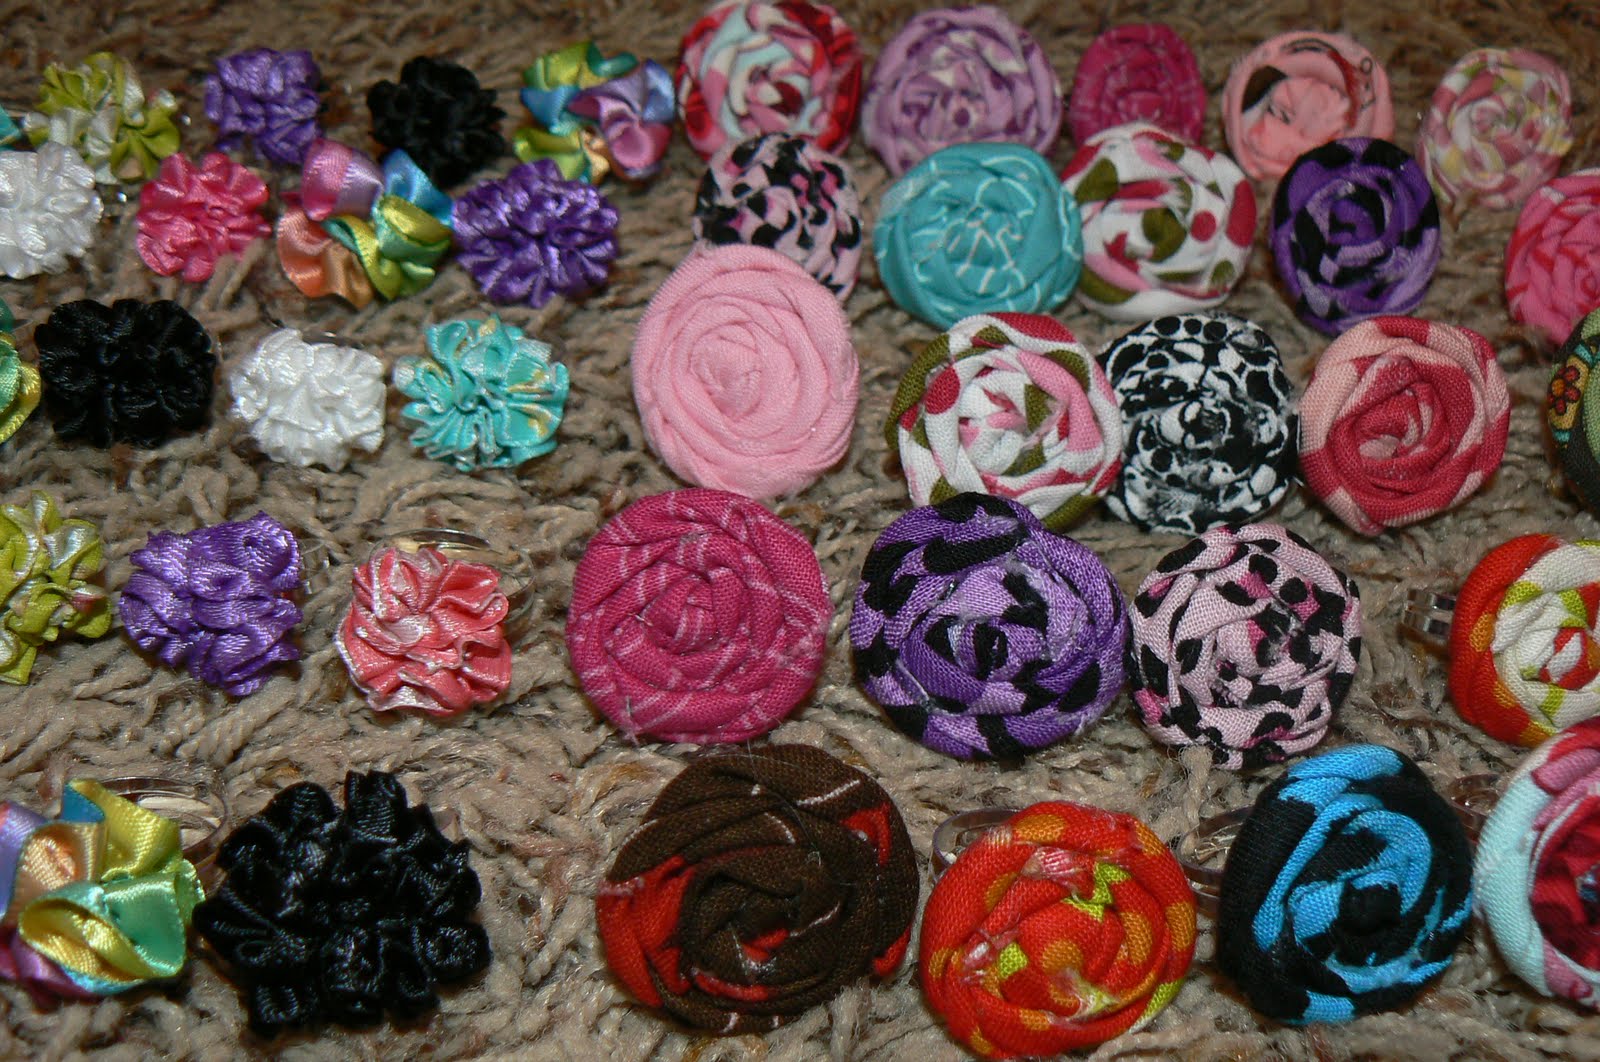
If you remember back in this post, I talked about these rolled fabric rings
that we made for Valentines Day.
After making quite a few of them, I decided to try some ribbon rings!
I just LOVED how they turned out!
Here are a few of the ribbon rings and the fabric rings.
Today I thought I would do a tutorial for the ribbon rings because they are so fun to make!
(I apologize for the quality of the pictures!
I didn’t get to this project until my kids were in bed and there was no natural light left!)
First: gather the supplies.
1/4 in – 1/2 in. Ribbon, similar colored thread, a small needle, lighter, hot glue gun,
and ring base OR some elastic! (Don’t worry…You’ll see where I’m going with this in a minute!)
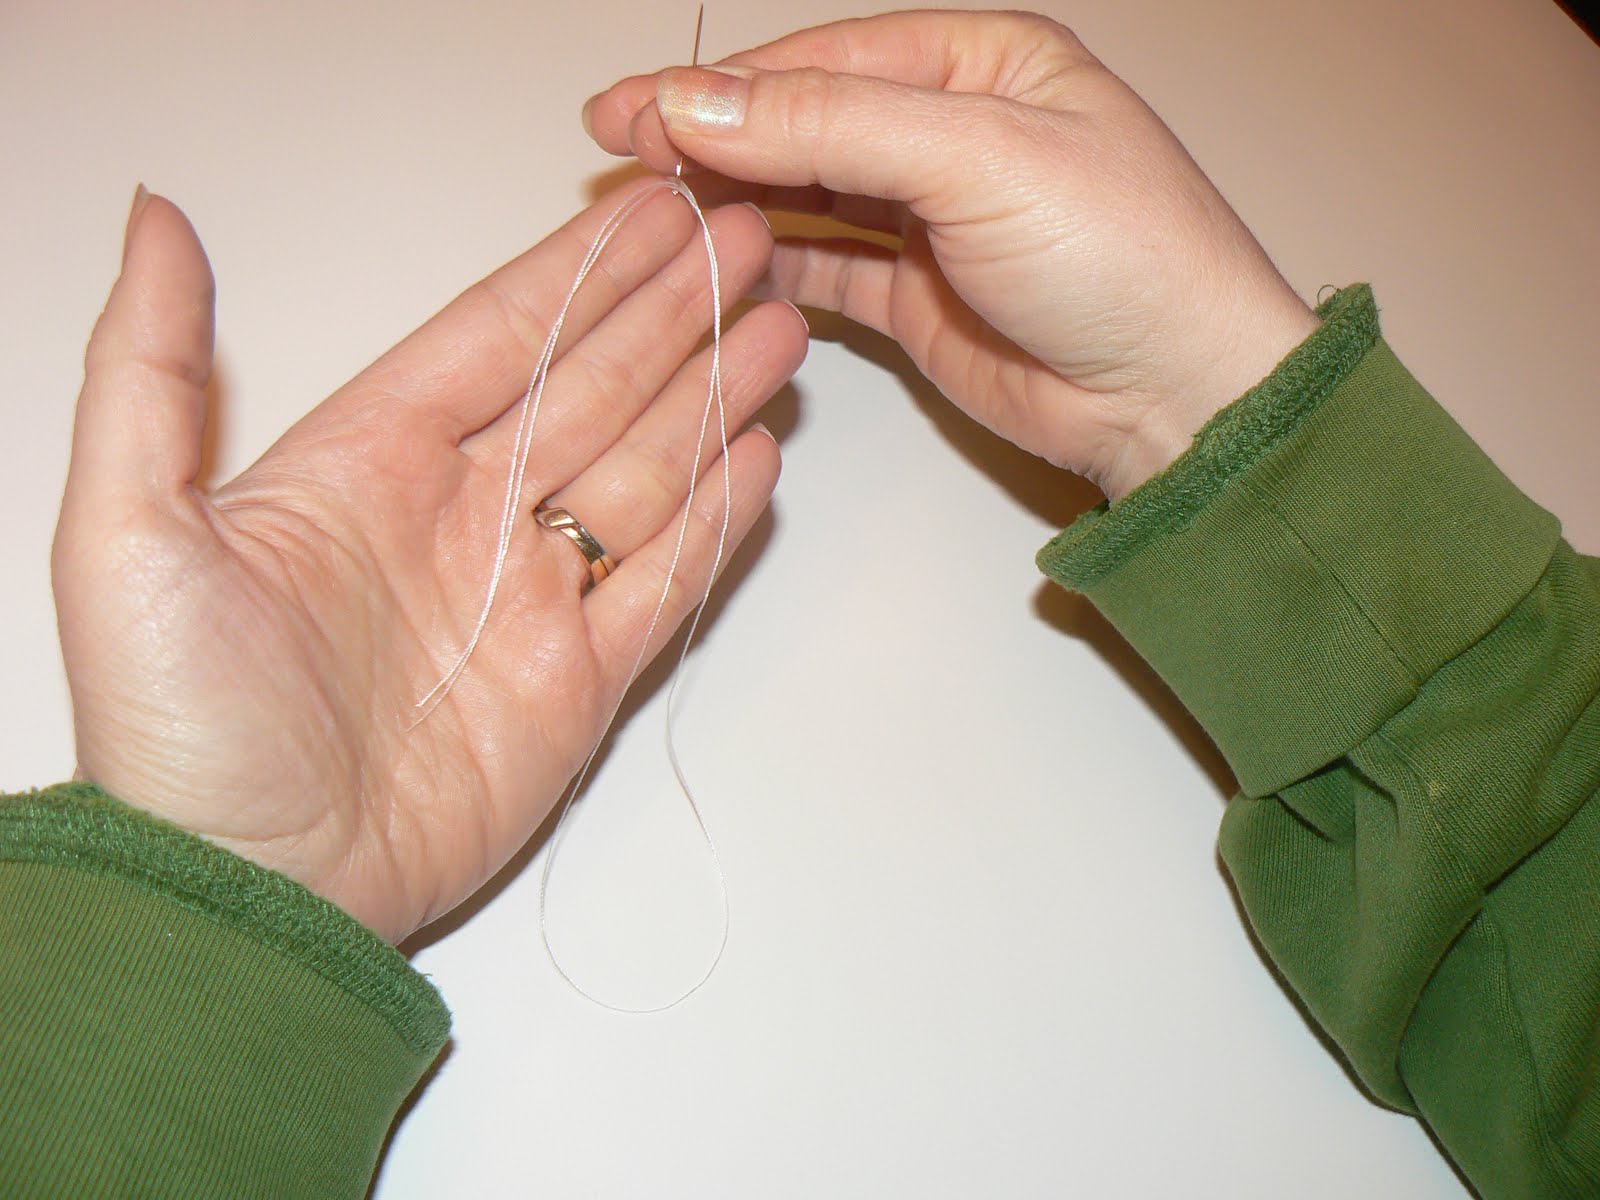
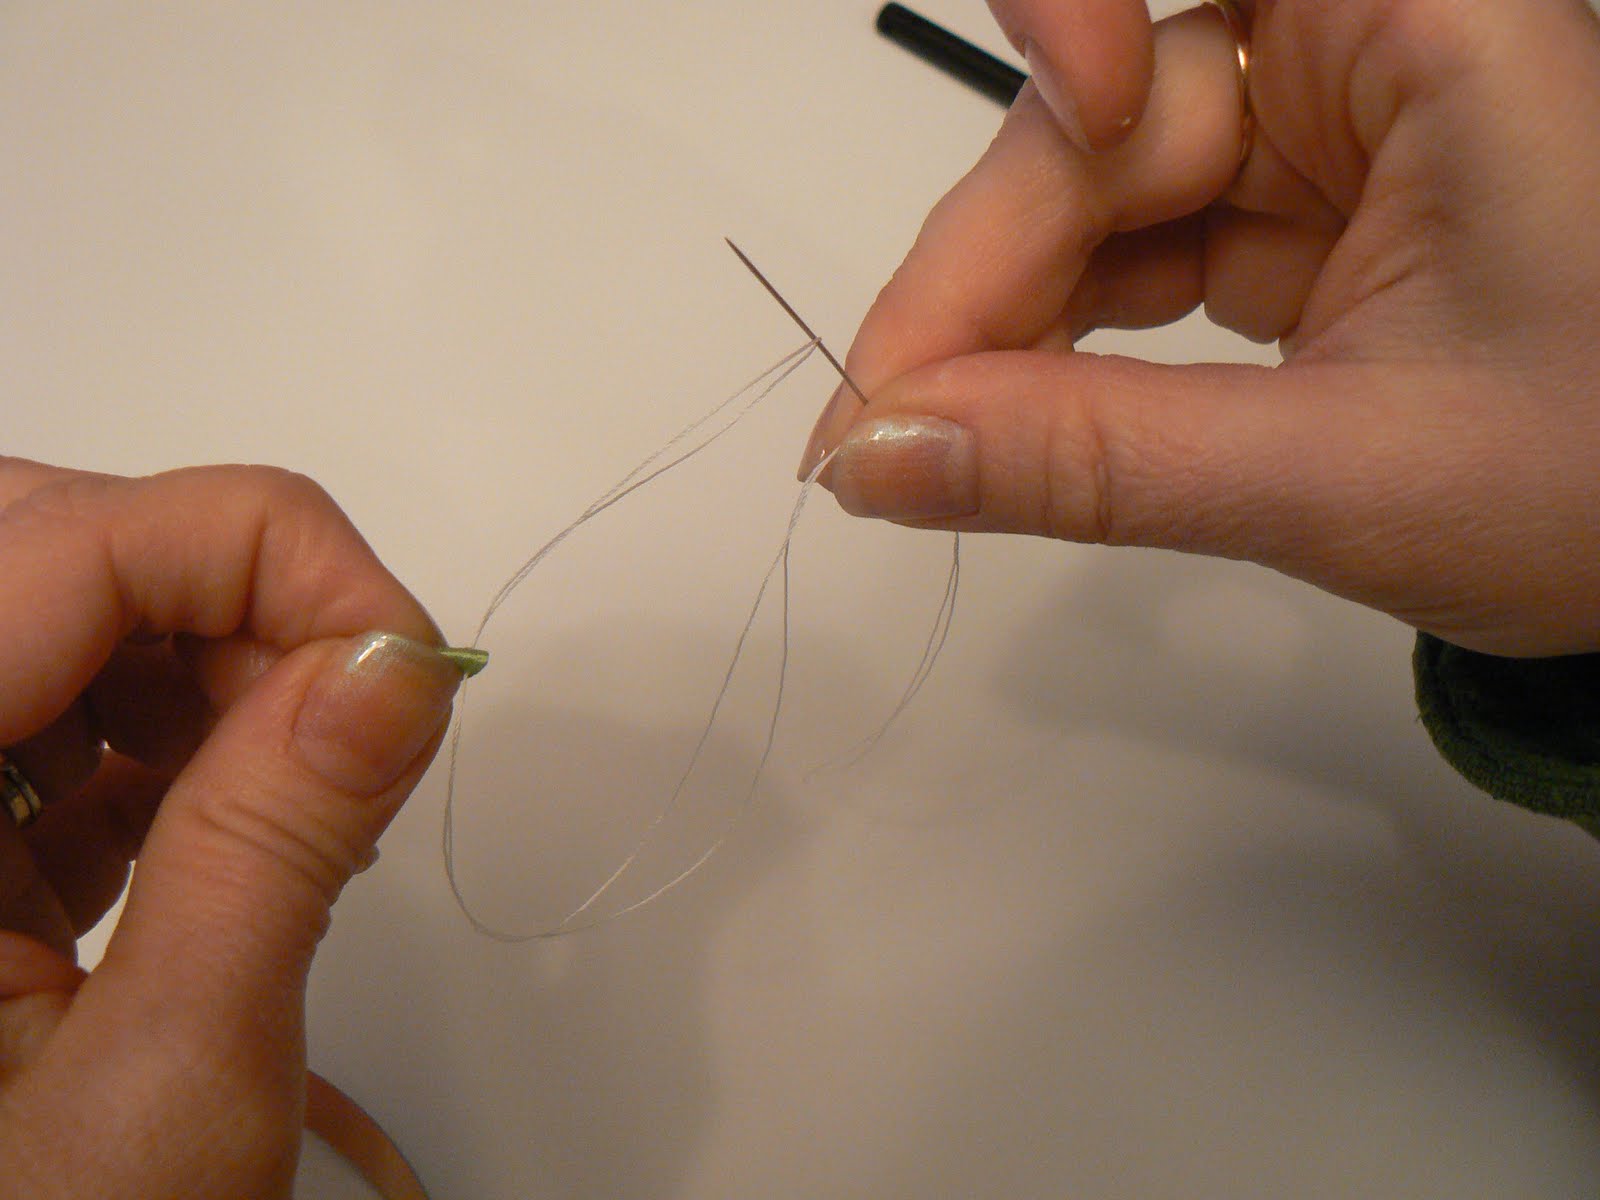
Next, I threaded the needle, as shown above.
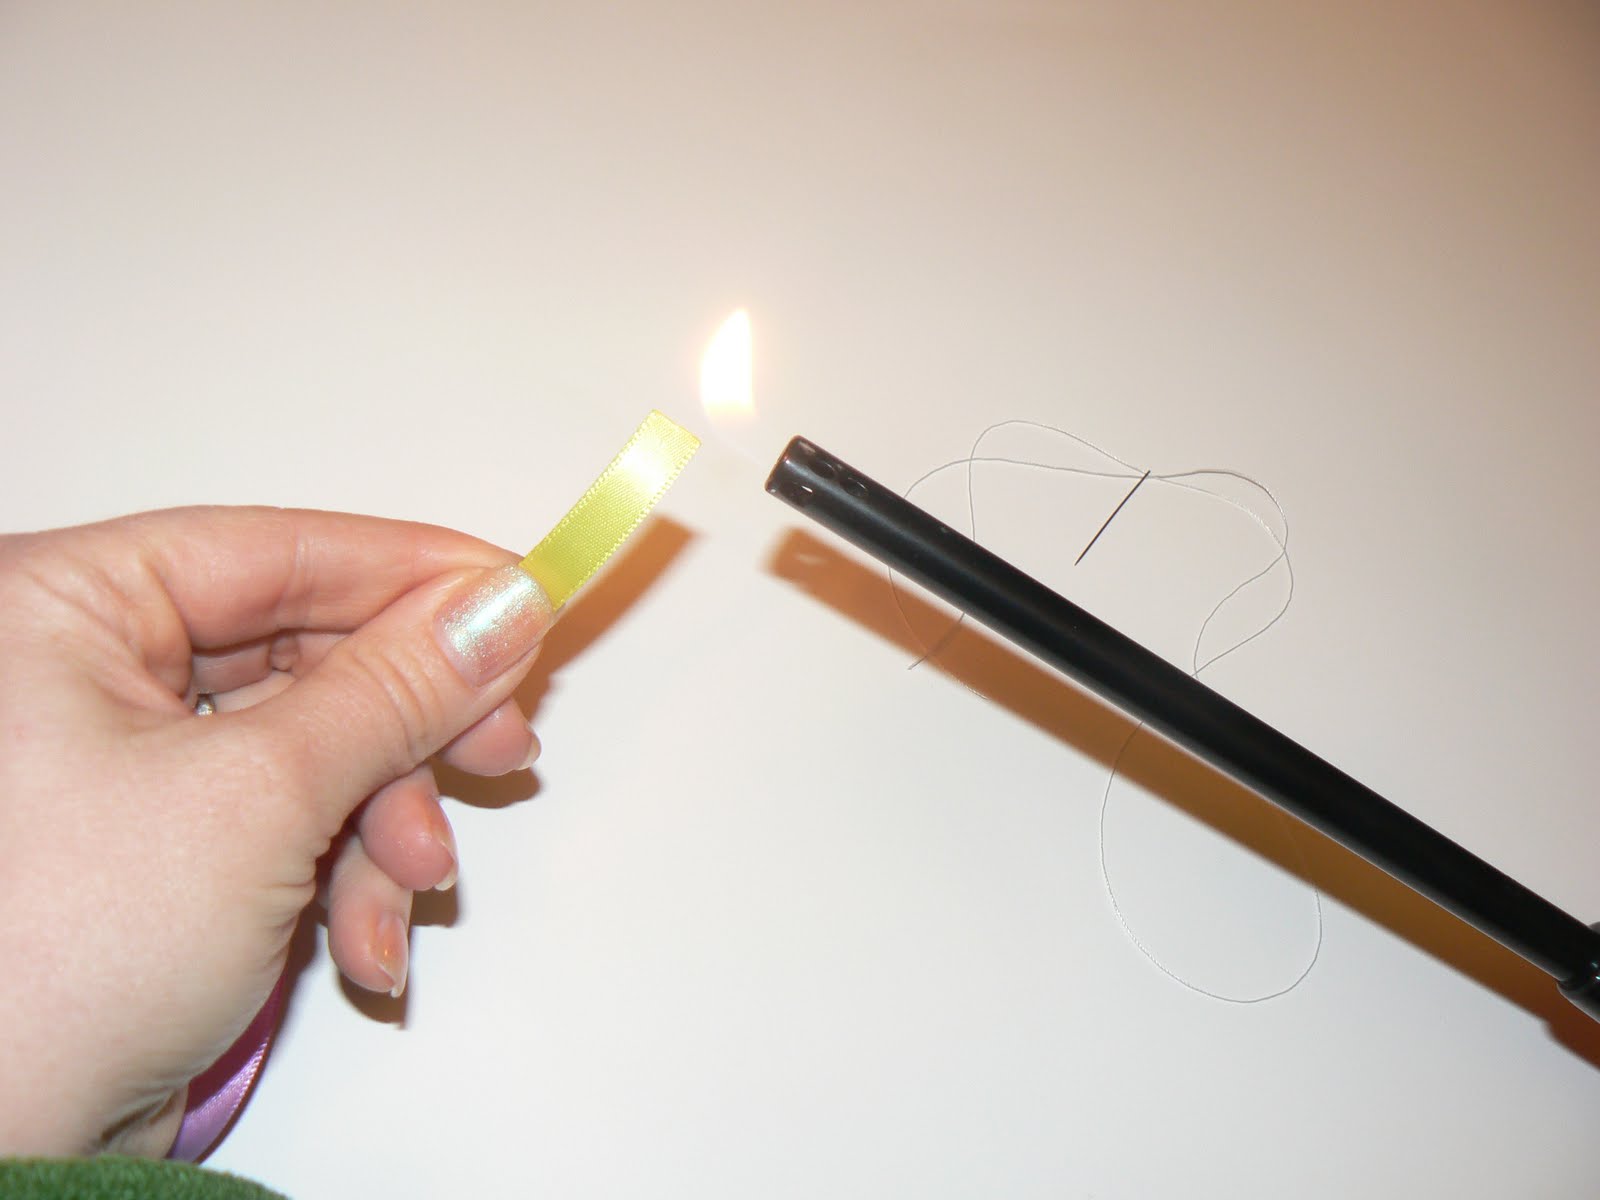
I always try to remember to treat the ends of my ribbon to prevent fraying!
I used a Bic lighter, but you could use whatever you have.
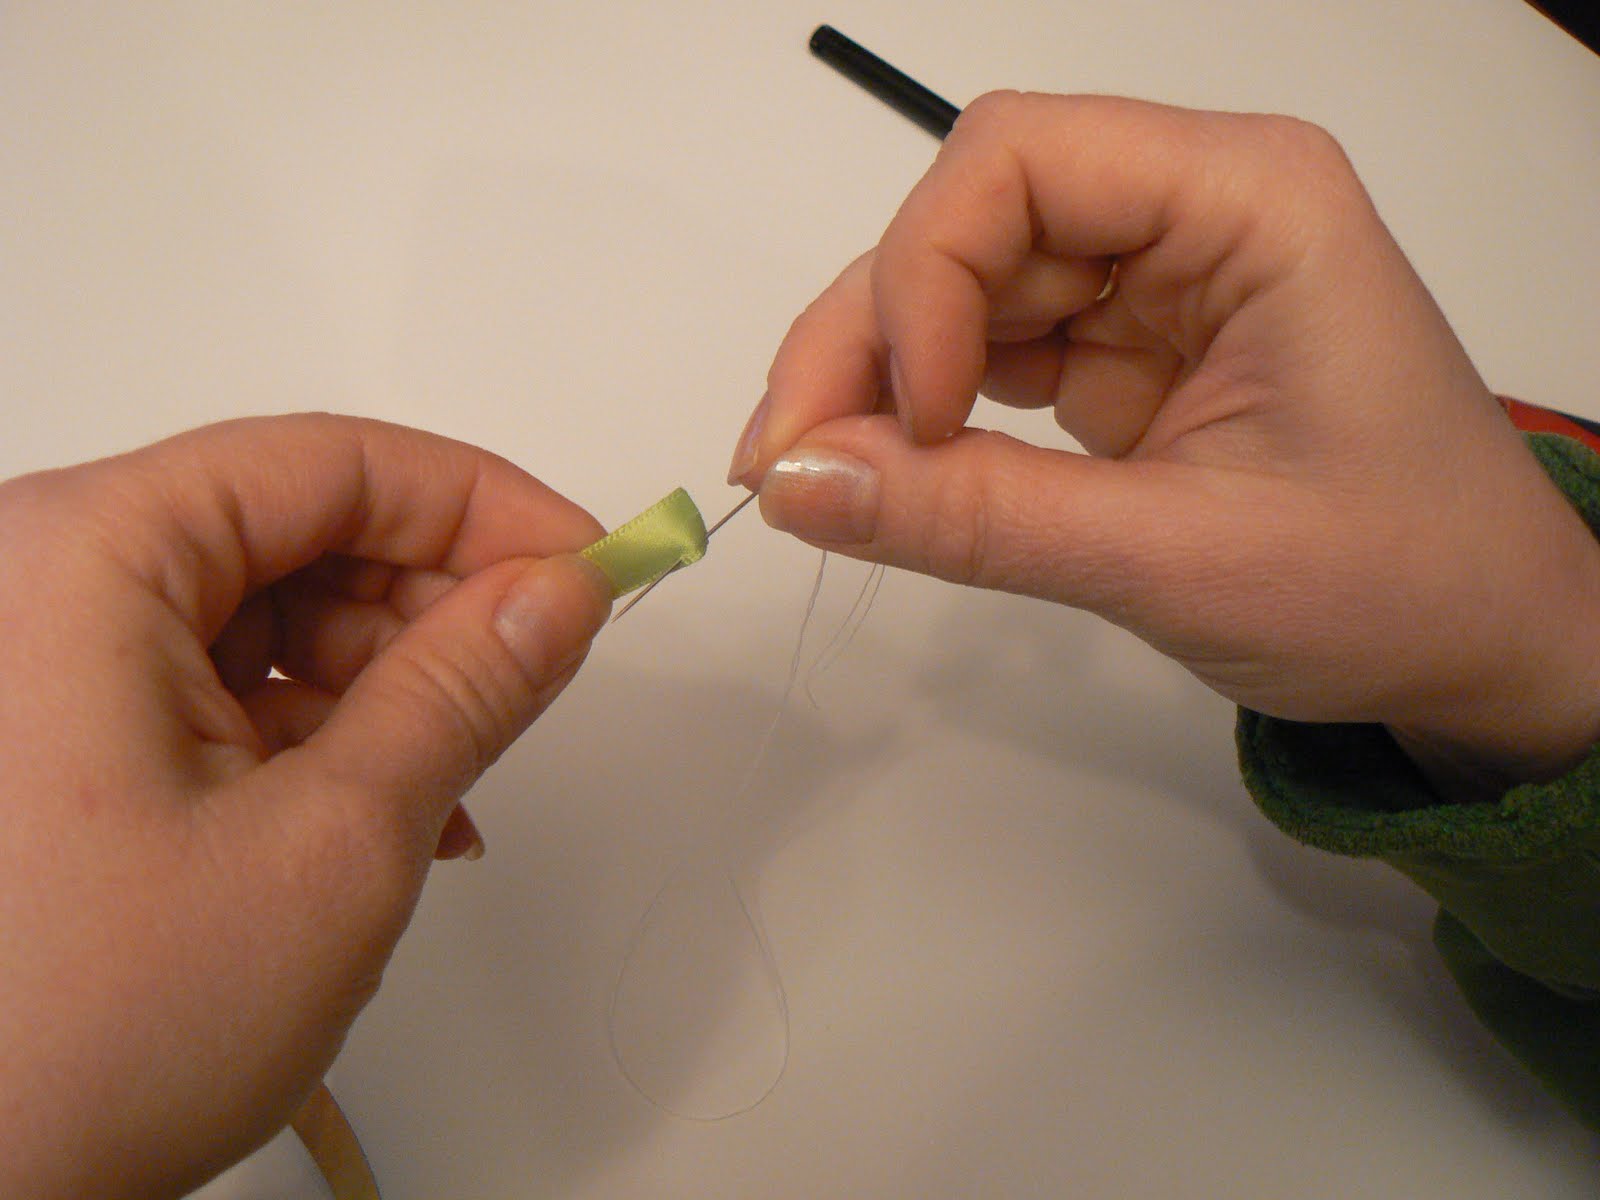
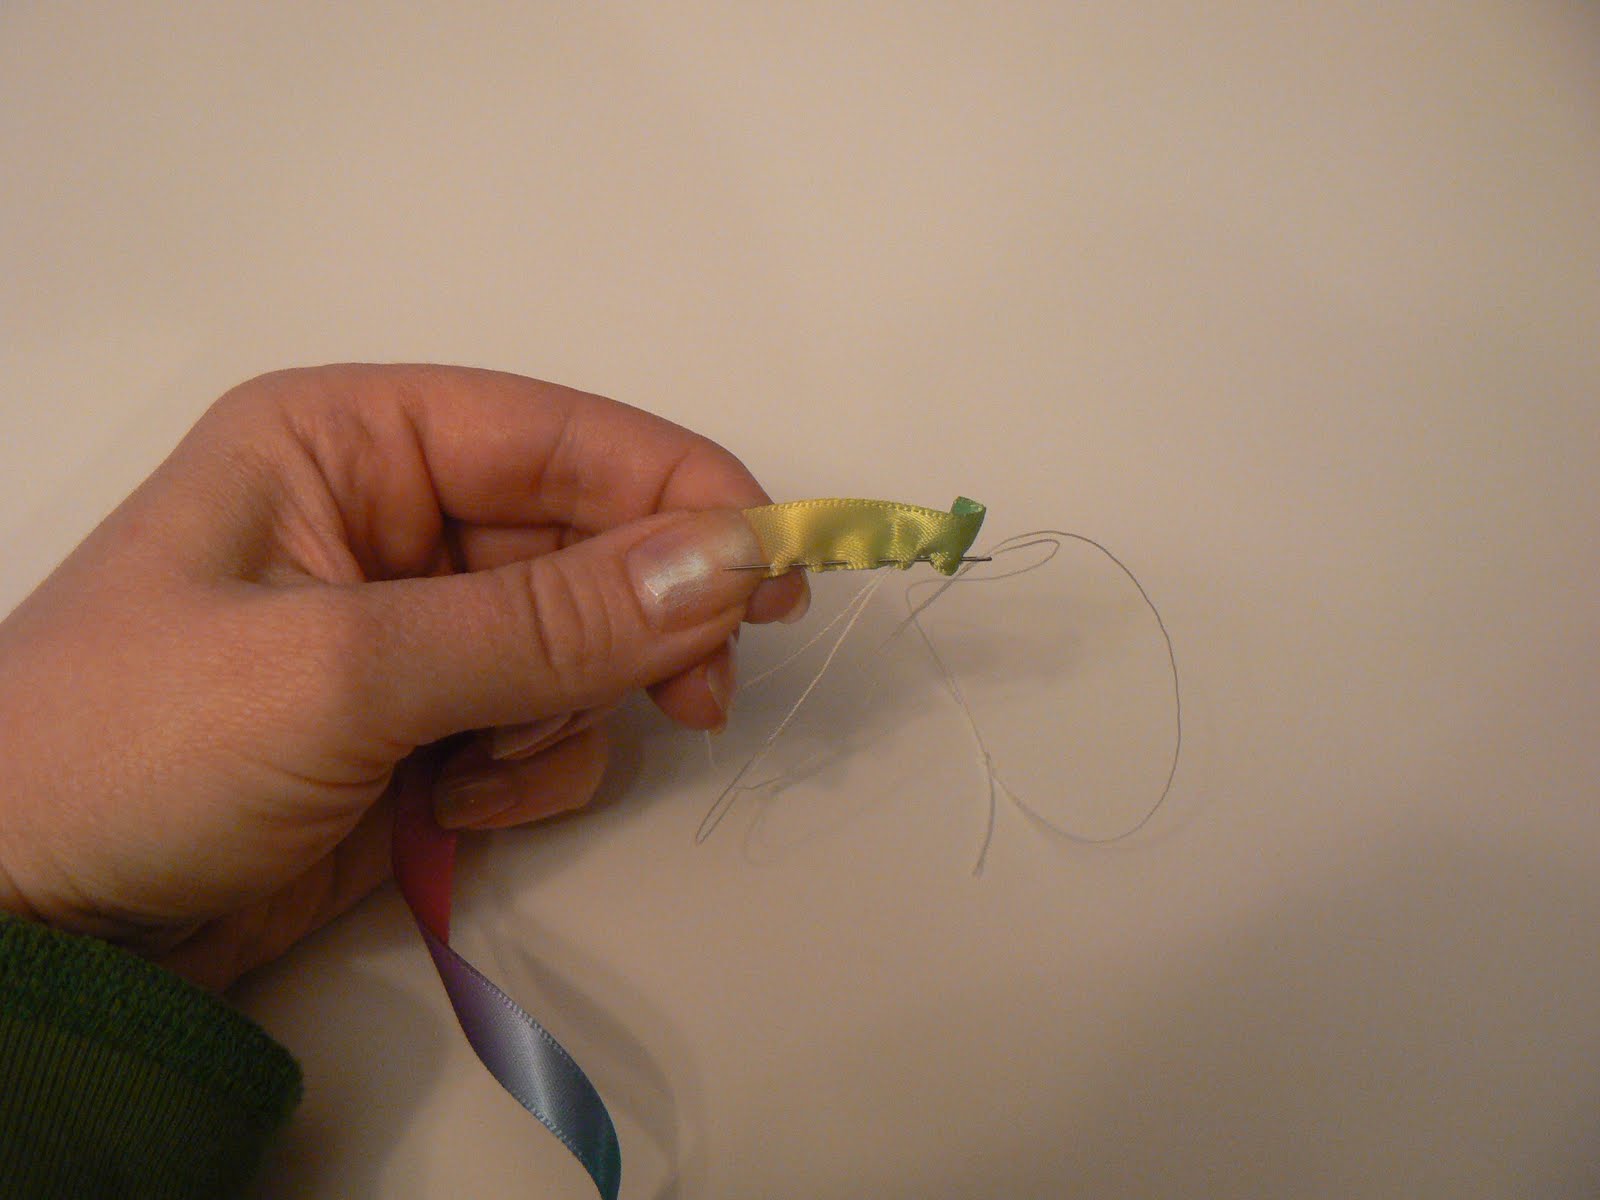
Then I fold the ribbon over one time and put my needle through it and just before pulling it all the way through, I pull the needle back through the end of the thread. (As pictured below)
I like this approach better than seeing the knot in the end of the thread.
Now comes the fun part. Simply start gathering the ribbon with the thread.
I just weaved the needle in and out, close to the bottom of the ribbon.
Keep going until you have the “flower” as big as you want it.
The longer you gather, the bigger in will be.

When you get it as big as you want, cut the ribbon and don’t forget to treat the end!

Then I stitch it back to my starting place and pull tight. Then you can play with the shape a little bit before tying the knot and cutting the thread.
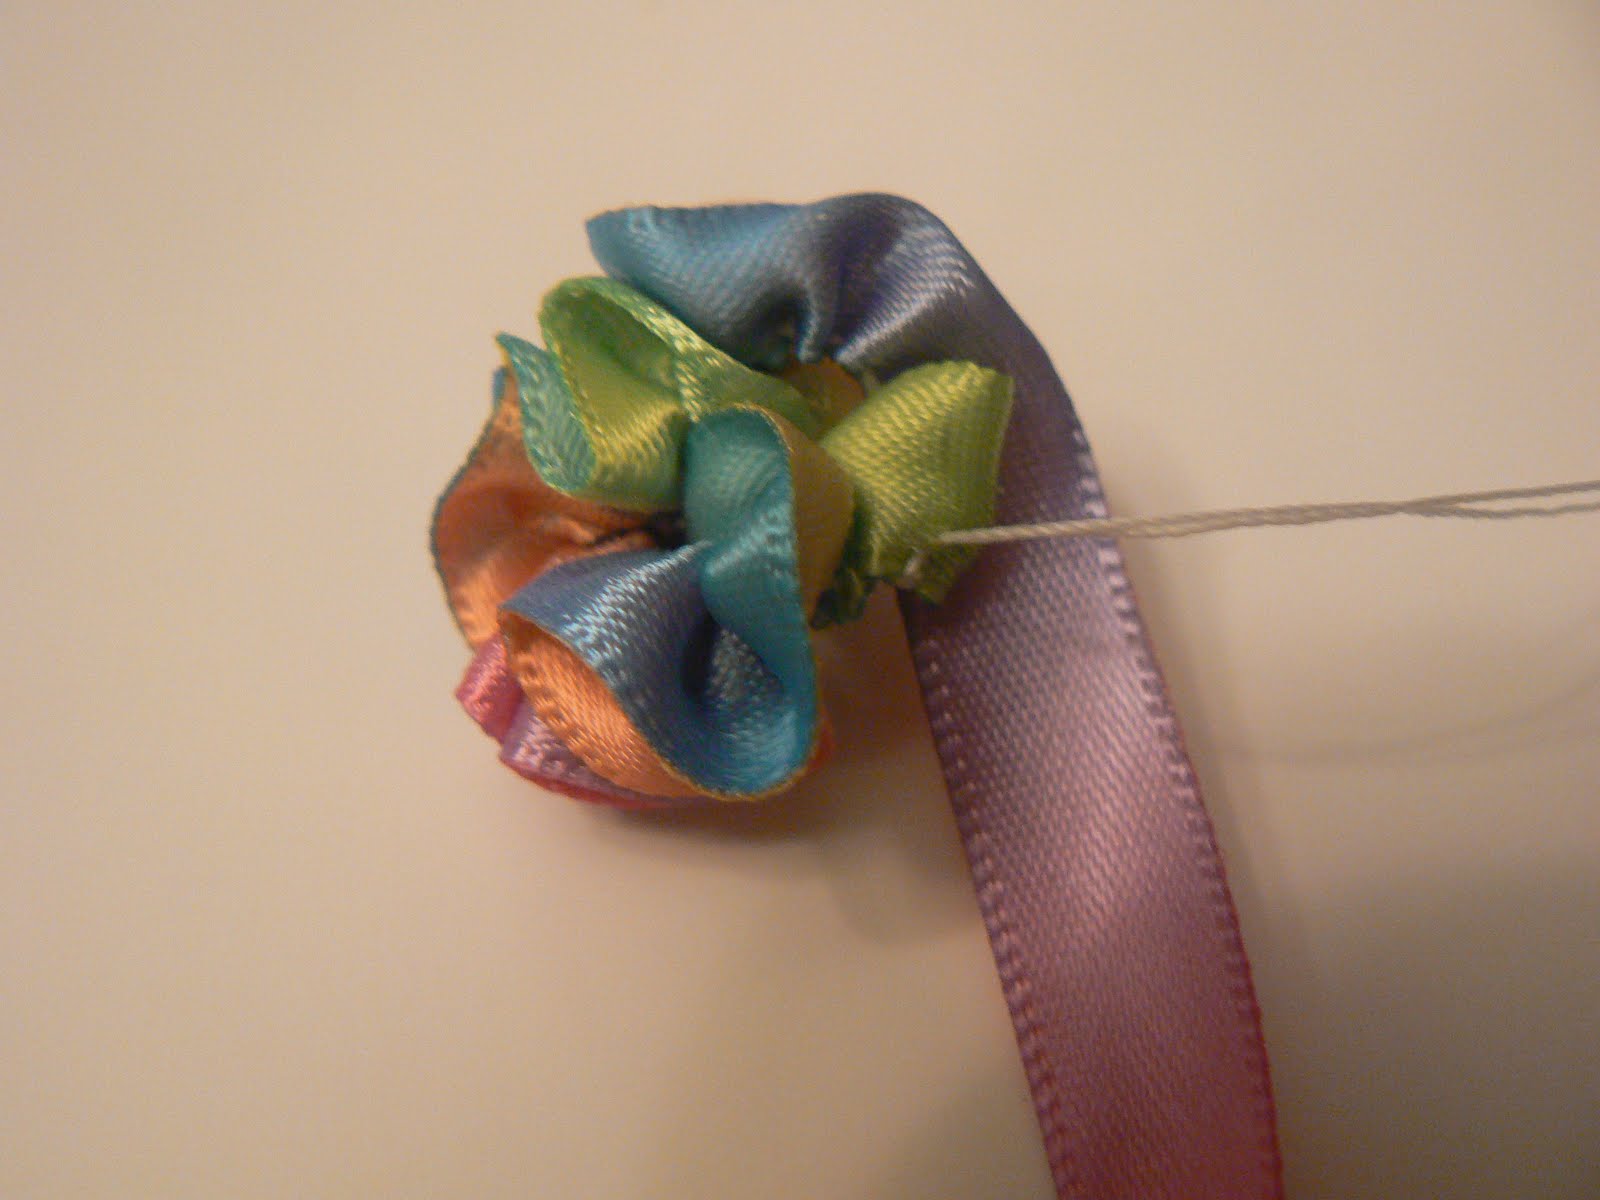
Here is a picture of it finished.

You can buy these ring bases at the craft store,
or get an even better deal on Etsy because you buy in bulk!

Now….I’m super excited to show you this next part.
I want to show you….
how to make your own ring band with some elastic!
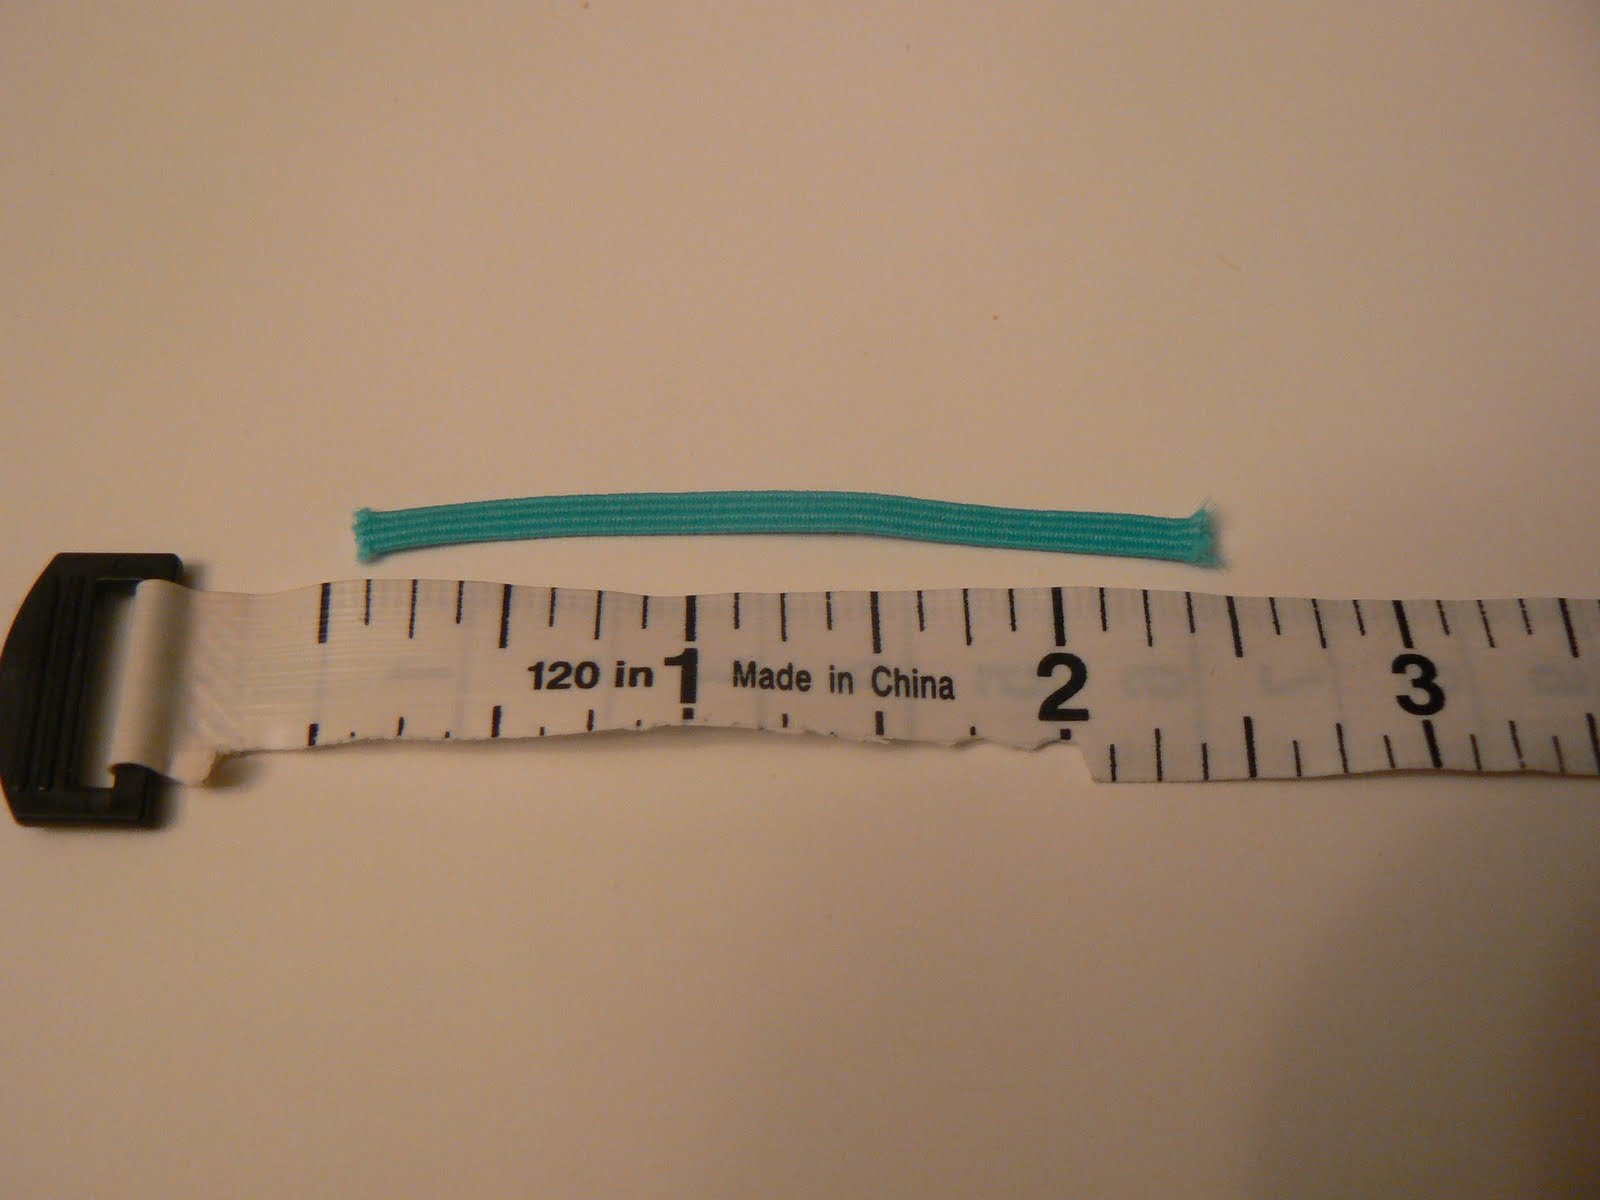
I placed this 1/8″ elastic around my finger to get the approximate size I wanted.
Mine was almost 2 1/2 inches.
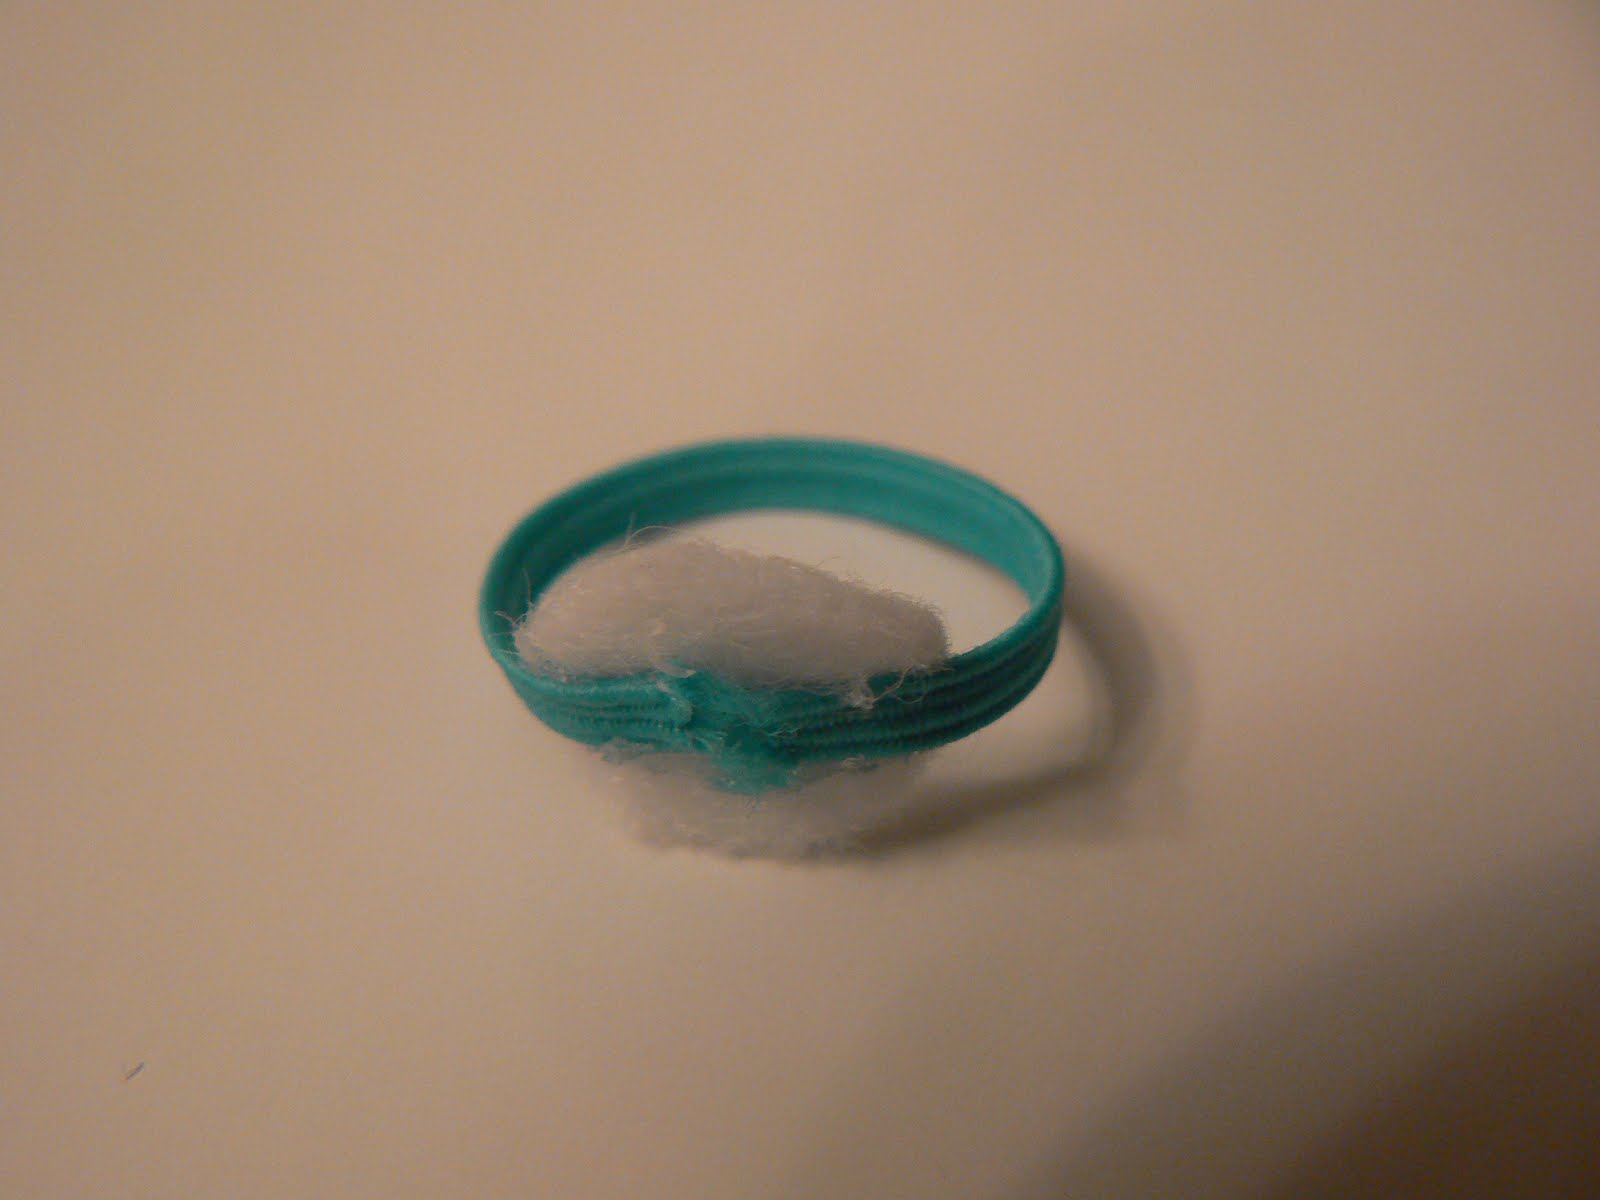
Then I glued the ends onto a small piece of felt.
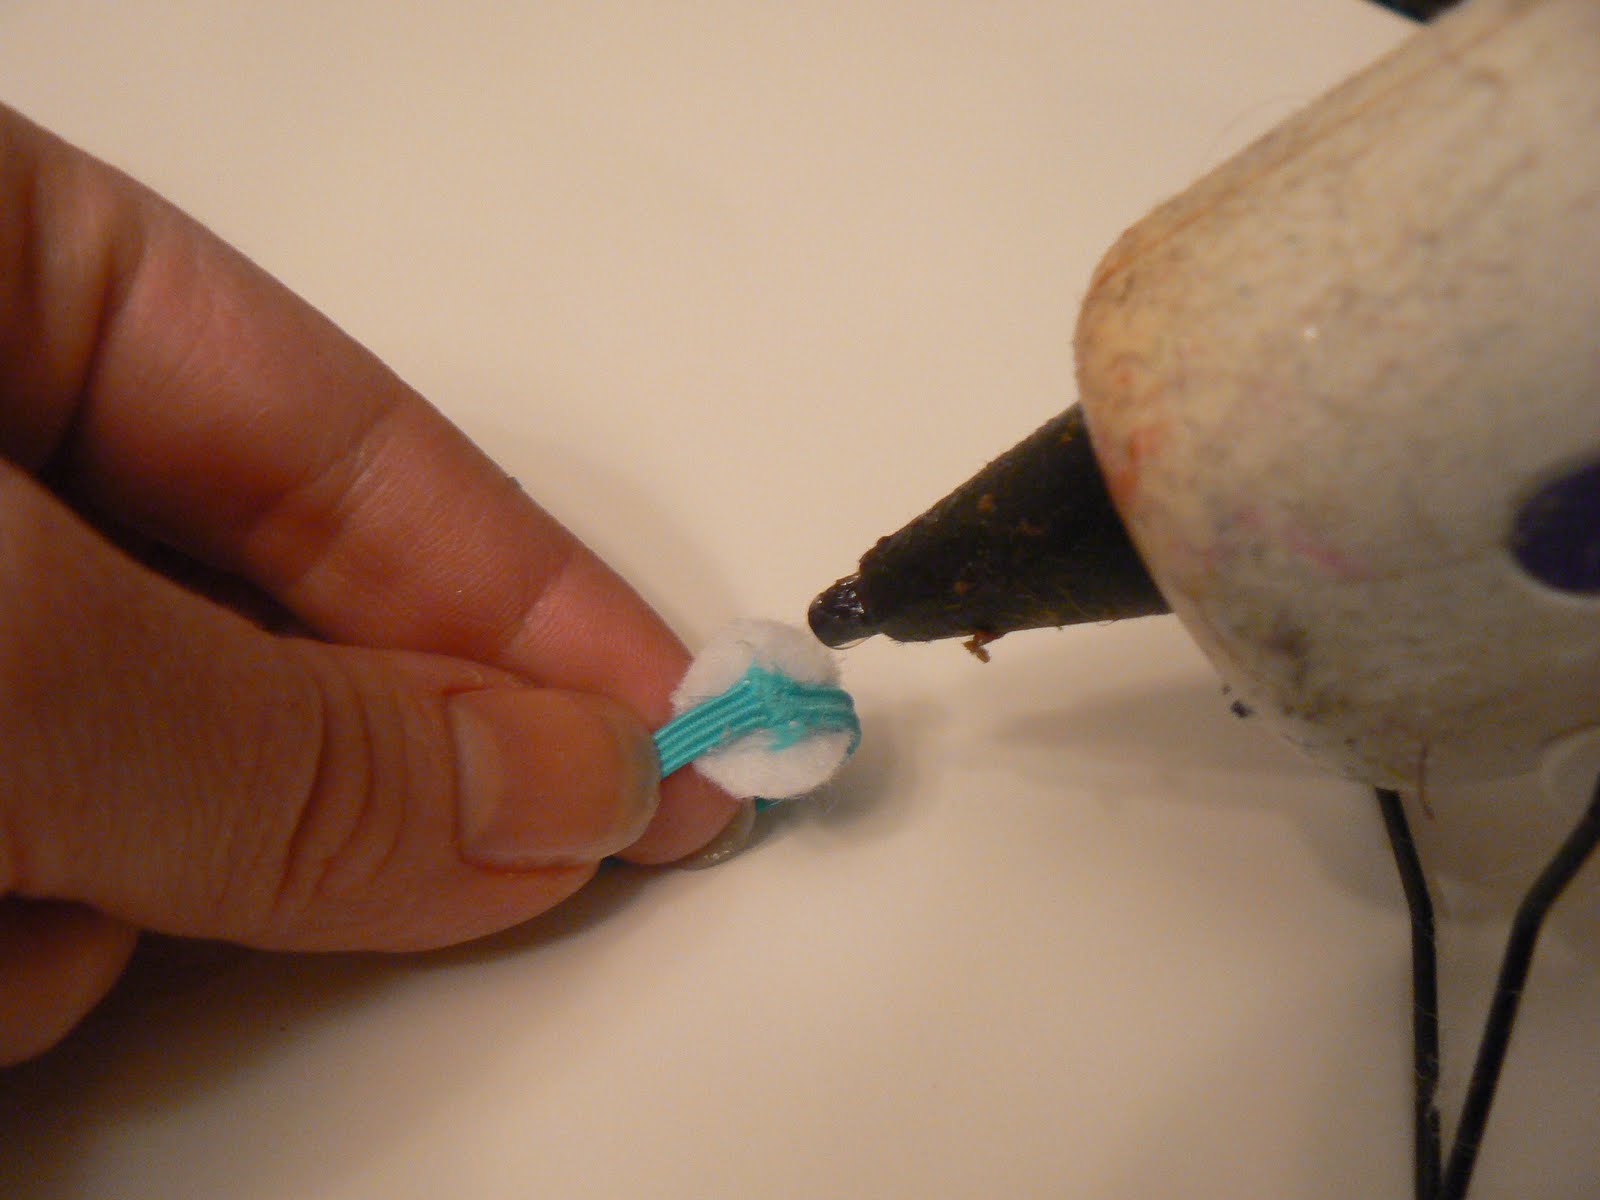
Finally, all you have to do is hot glue the ribbon flower onto your new ring base!
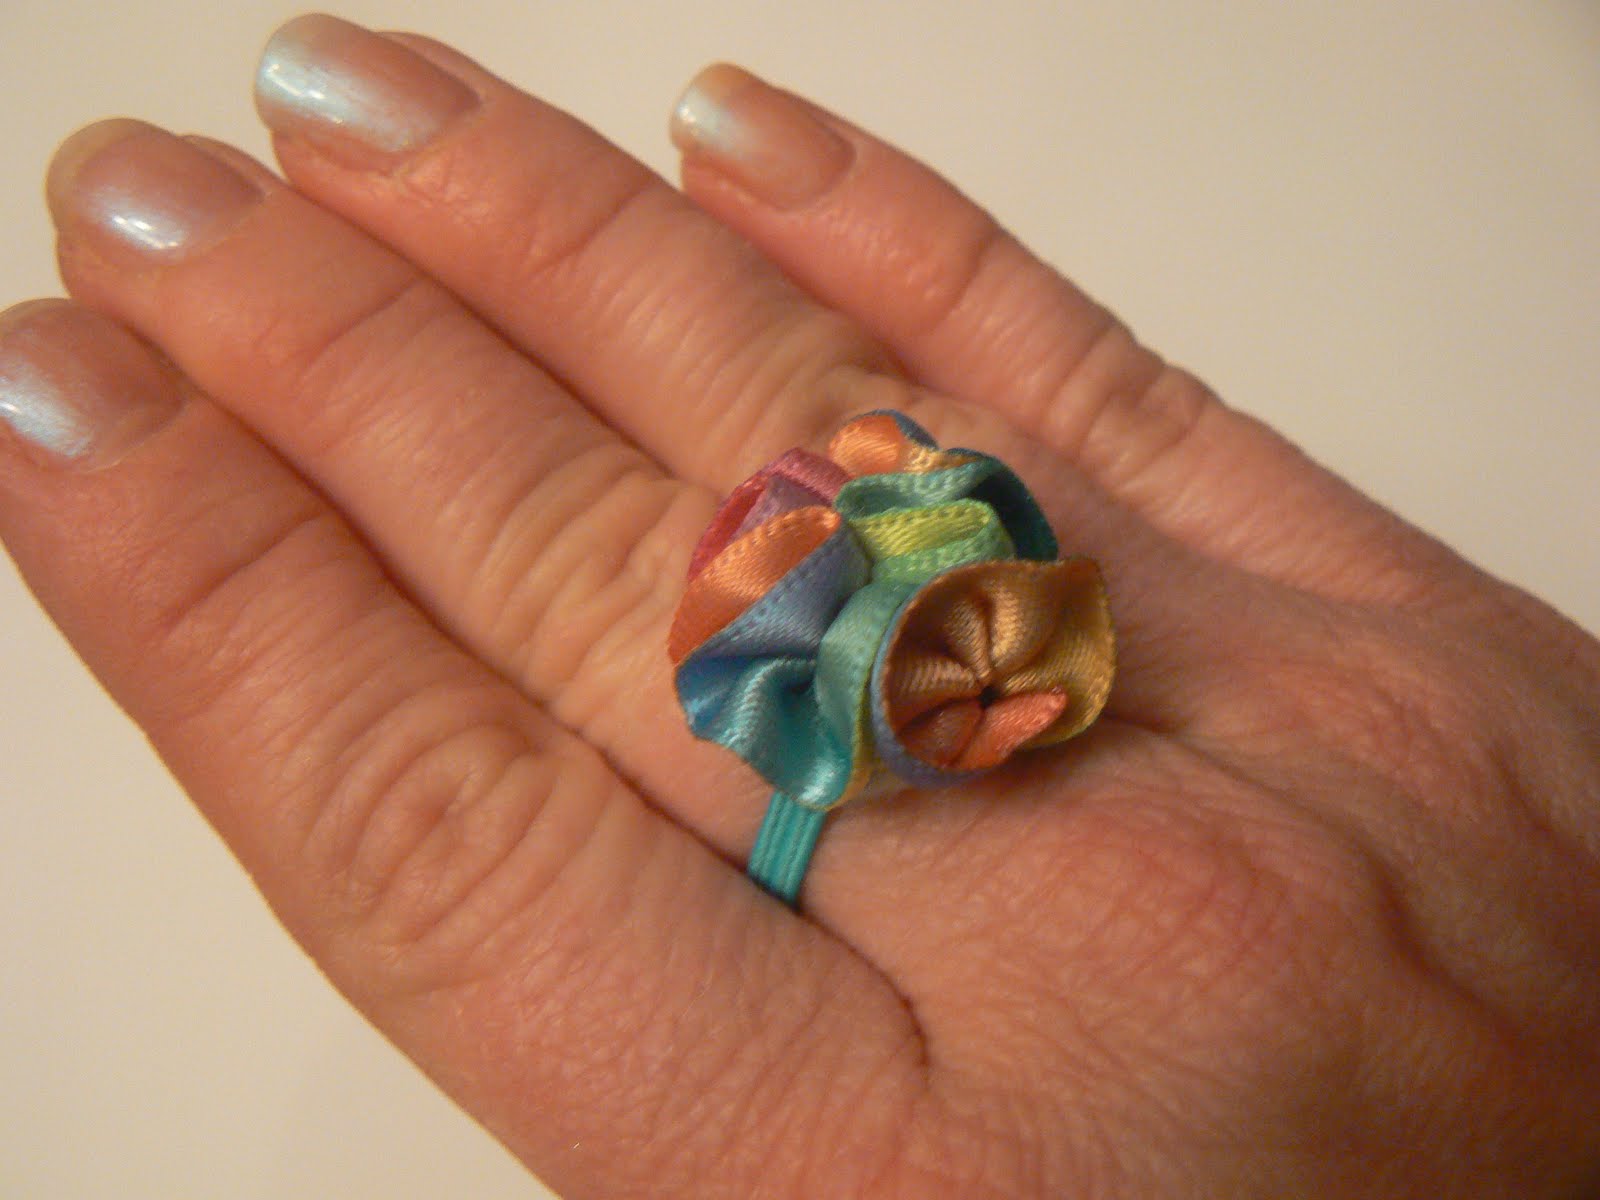
And there you have it! A cheap, stylish, and fun, new accessory!

This deal has expired
**Today only there is a deal on Glidden paint! You can score a FREE quart, just go here!
I ordered Pink Peony for my little girls’ room! 🙂

This deal has expired
**
Linking up here:
Love it Emily! You are so creative! 🙂
Good one, Em! I think even I could do it after that tutorial… maybe. Loved it!
Great tutorial!
SO cute and so thrifty, a crafter after my own heart!
Cute rings!! Thanks for linking @’Sew Cute Tuesday’!
Love it Em!!!!
Cute! I have been playing with this idea too! I love the way yours came out! I am visiting from Reasons to Skip the Housework and I am a new follower!!
Have a great day!
Michelle
http://www.delicateconstruction.blogspot.com
Love it! My daughter and I will have to make these, she’ll love them!
Awesome! I would love for you to link your project at Color Chic for a chance to win a giveaway!
Cute
how cute are these!
I love these!!!
Thank you for sharing how to make these. I am going to try it with my daughter this week. How fun! Thanks for linking to ABC and 123 for Show and Tell!
Linking this up with us made the Creative Bloggers’ Party & Hop better and more special. Thank you!